The PDF version of the manual is downloadable from the end of this instruction page.
Downloading and installing the pecha templates
Download all the template package from here.
Extract the downloaded folder and copy the templates (Ctrl+C).
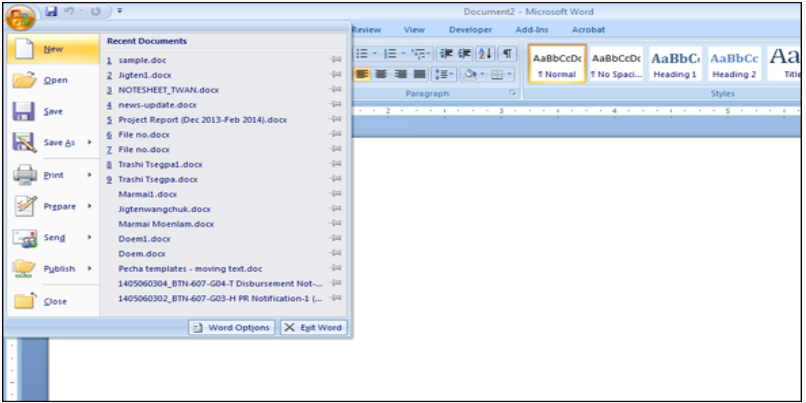
Open MS office word 2007.
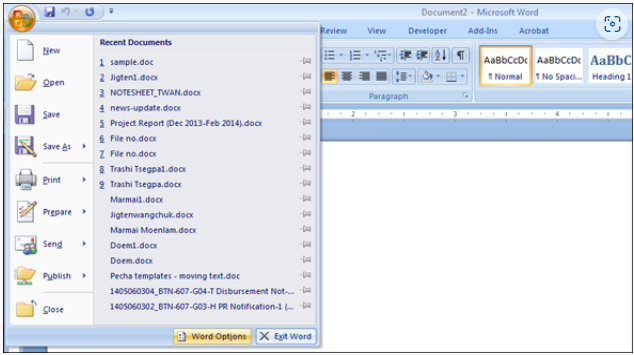
At the top, click on office button ► word options.
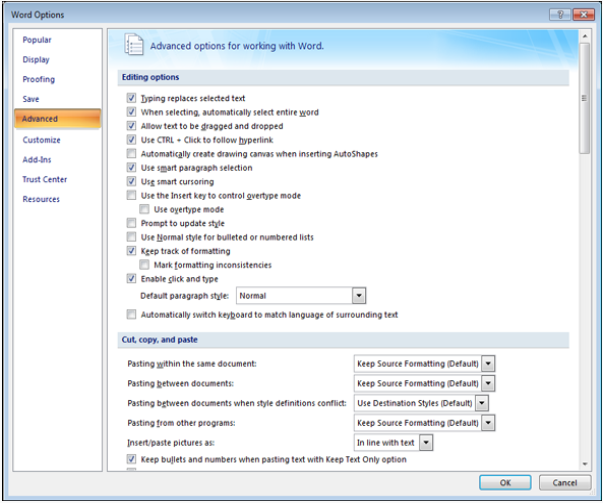
Go to Advanced on the left pane.
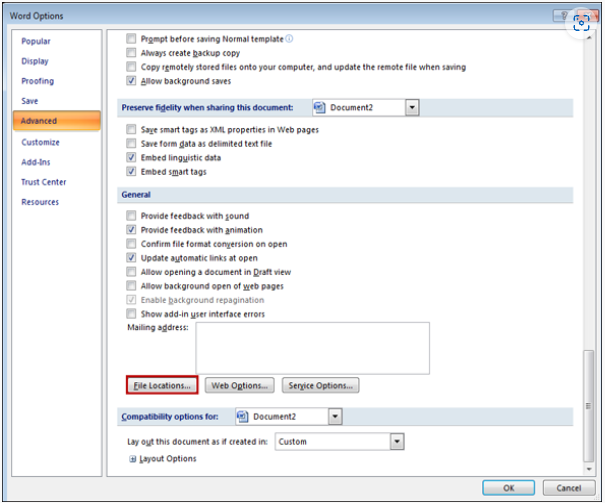
Scroll down to the bottom and open file locations.
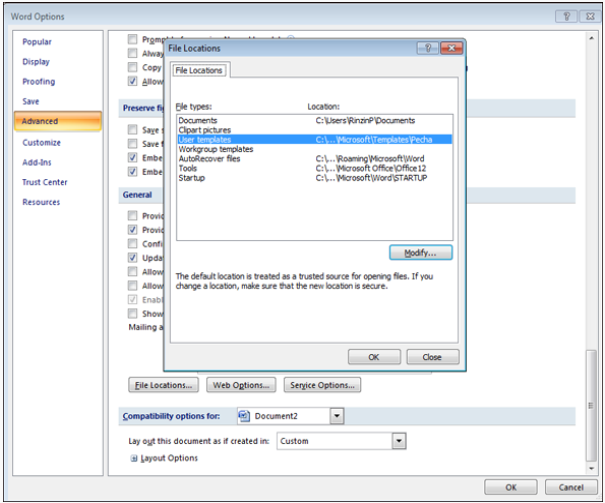
7. Double click on the user templates.
8. Paste the templates you copied in the beginning.
Note: You won’t see the files you pasted.
9. Finally click on OK for all.
10. Once again go to office button ► New.
11. On the left pane, click on My Templates.
12. You can now use any of the following templates: i. Pecha + Title (DDC Uchen).dotm ii. Pecha + Title (Jomolhari).dotm
Pasting Text
Open the document in which you typed the text for the body of the pecha. Select and copy all the text you want to paste in the pecha document.
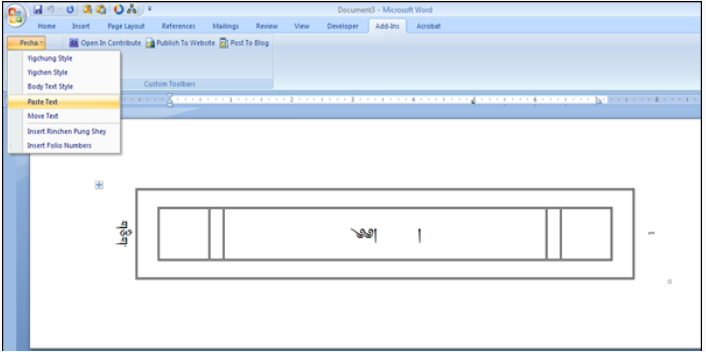
Go to the pecha document you created from the template.
Place the cursor at the start of the first (non-title) page following the Gogyen (༄༅༅། ། )
Open the template you want to use (follow the previous step 9).
Go to Add-Ins ► Pecha ► Paste Text.
The text you pasted should flow automatically from page to page.
Note: Copy and paste the title seperately from the body content, i.e. the first page.
Formatting Text
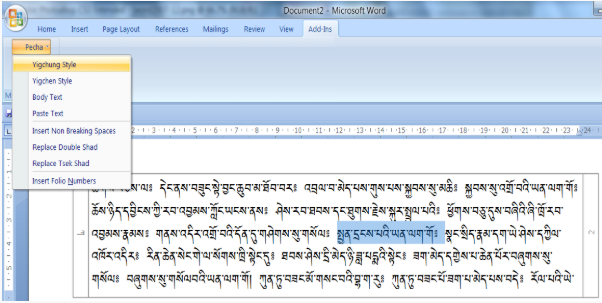
1. Making Small Text
If you need to make certain words as small, select the words.
2. Go to Add-Ins ► Pecha ► Yigchung Style.
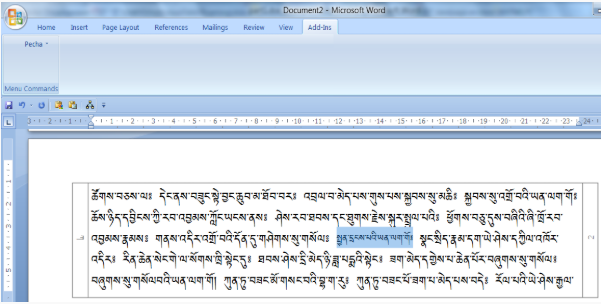
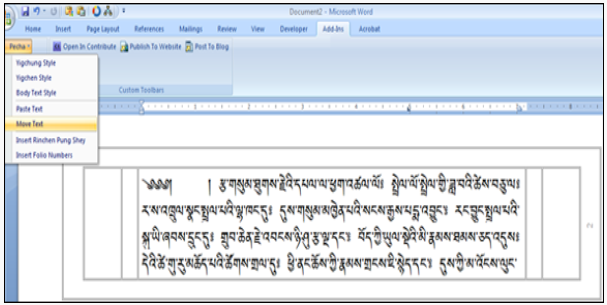
2. Moving Text
Go to the option Add-Ins ► Pecha ► Move Text
These pecha templates use the header and footer features of Word to define the pecha borders. Word allows separate header and footer definitions only for the first, odd, and even pages of a section. As the border and margins used on the first few folios of pecha is normally different than those used on the succeeding folios, we need to move some of the text to a new section to get the proper borders and margins. The pecha templates contain a macro to automatically accomplish this task.
Note: This macro should only be run after you have formatted Yigchung – especially for the first few folios – as this formatting will affect the amount of text that can fit on a page or folio.
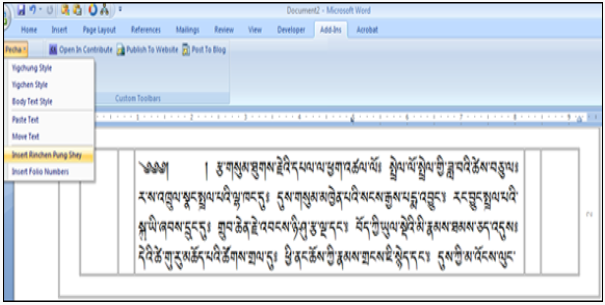
3. Inserting Rinchen Pung Shey
Go to the option Add-Ins ► Pecha and click on Insert Rinchen Pung Shey
2. You will see three types of Rinchen Pung Shey available for Pecha as shown.
3. Select any Dots as per your requirement and then click OK.
4. Once its complete, the Rinchen Pung Shey will be applied as per the pecha rules.
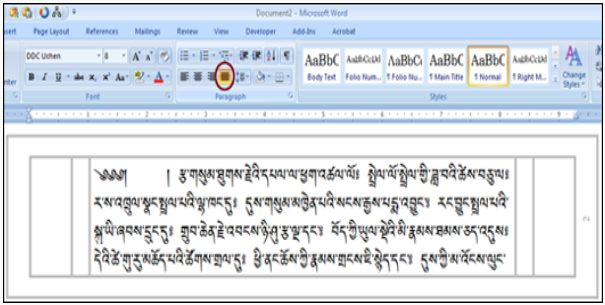
4. Justify the Document
After the above formatting is completed, you can justify your document by clicking on Justify from the toolbar option under Home.
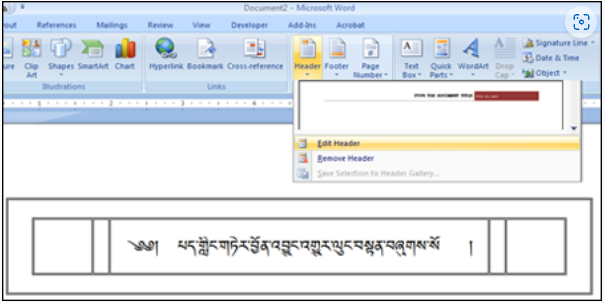
5. Margin Titles & Folio Numbers
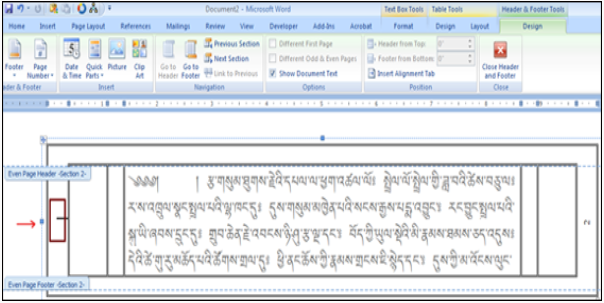
To insert a short title in the left margin, go to Insert ► Header ► Edit Header.
2. Type any title on 2nd and 4th pages.
3. Once the title on 2nd and 4th pages is typed, same title will be updated on rest of the even pages.
Note: Titles on every even page should be same. Therefore, enter same title on 2nd and 4th pages.
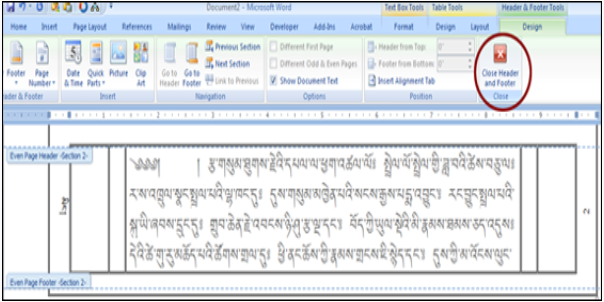
4. Once you have inserted the title, close the header and footer.
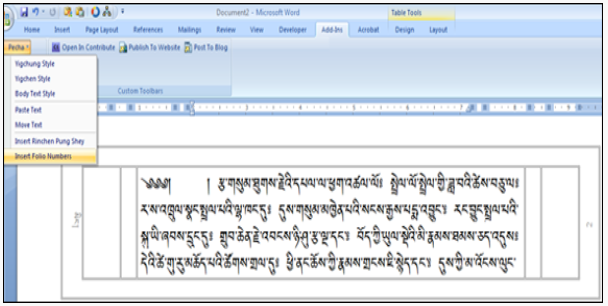
5. You can insert page numbers by clicking on Add-Ins ►Pecha ►Insert Folio Numbers
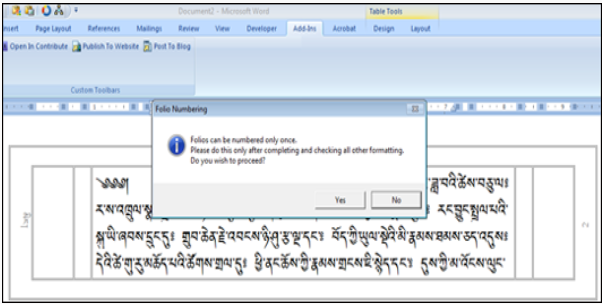
6. You will be prompted with an alert message.
7. Click Yes.
8. Once the page numbers are inserted, save your file to any location you wish to.